4 Easy Ways to Add Photos to an Album
Adding photos to your album can seem overwhelming a first, when you're staring at a box of unorganized photos with no clue how to get started. While sorting through your photos is a whole task in itself, today, we are here to help you with the simple task of HOW to actually put your photos into the album. I.e. how to properly attach the photos to the paper page, safely and securely, without glue and with little to no mess.
Below, is a video showing the 4 different easy ways to add photos to your album. Along with pictures and links to shop everything you need to get started putting together your photo album.
Photo Corners
Photo corners are a classic way to add photos to your album without having to apply any sticky residue to the front surface or back of the photo. It also allows you to easily remove the photo, if you ever wanted to.

Photo corners are easy to apply. You simply slip each corner of the picture neatly into the photo corners. The back side of the photo corners are sticky. I suggest leaving the corners attached to the sheet it comes on inserting a corner of a photograph and then peel it off.
The photo corners come in color (black, white, silver, gold) and clear. They are visible and will cover the corner edges of your photograph, so if you want a more seamless look, keep reading!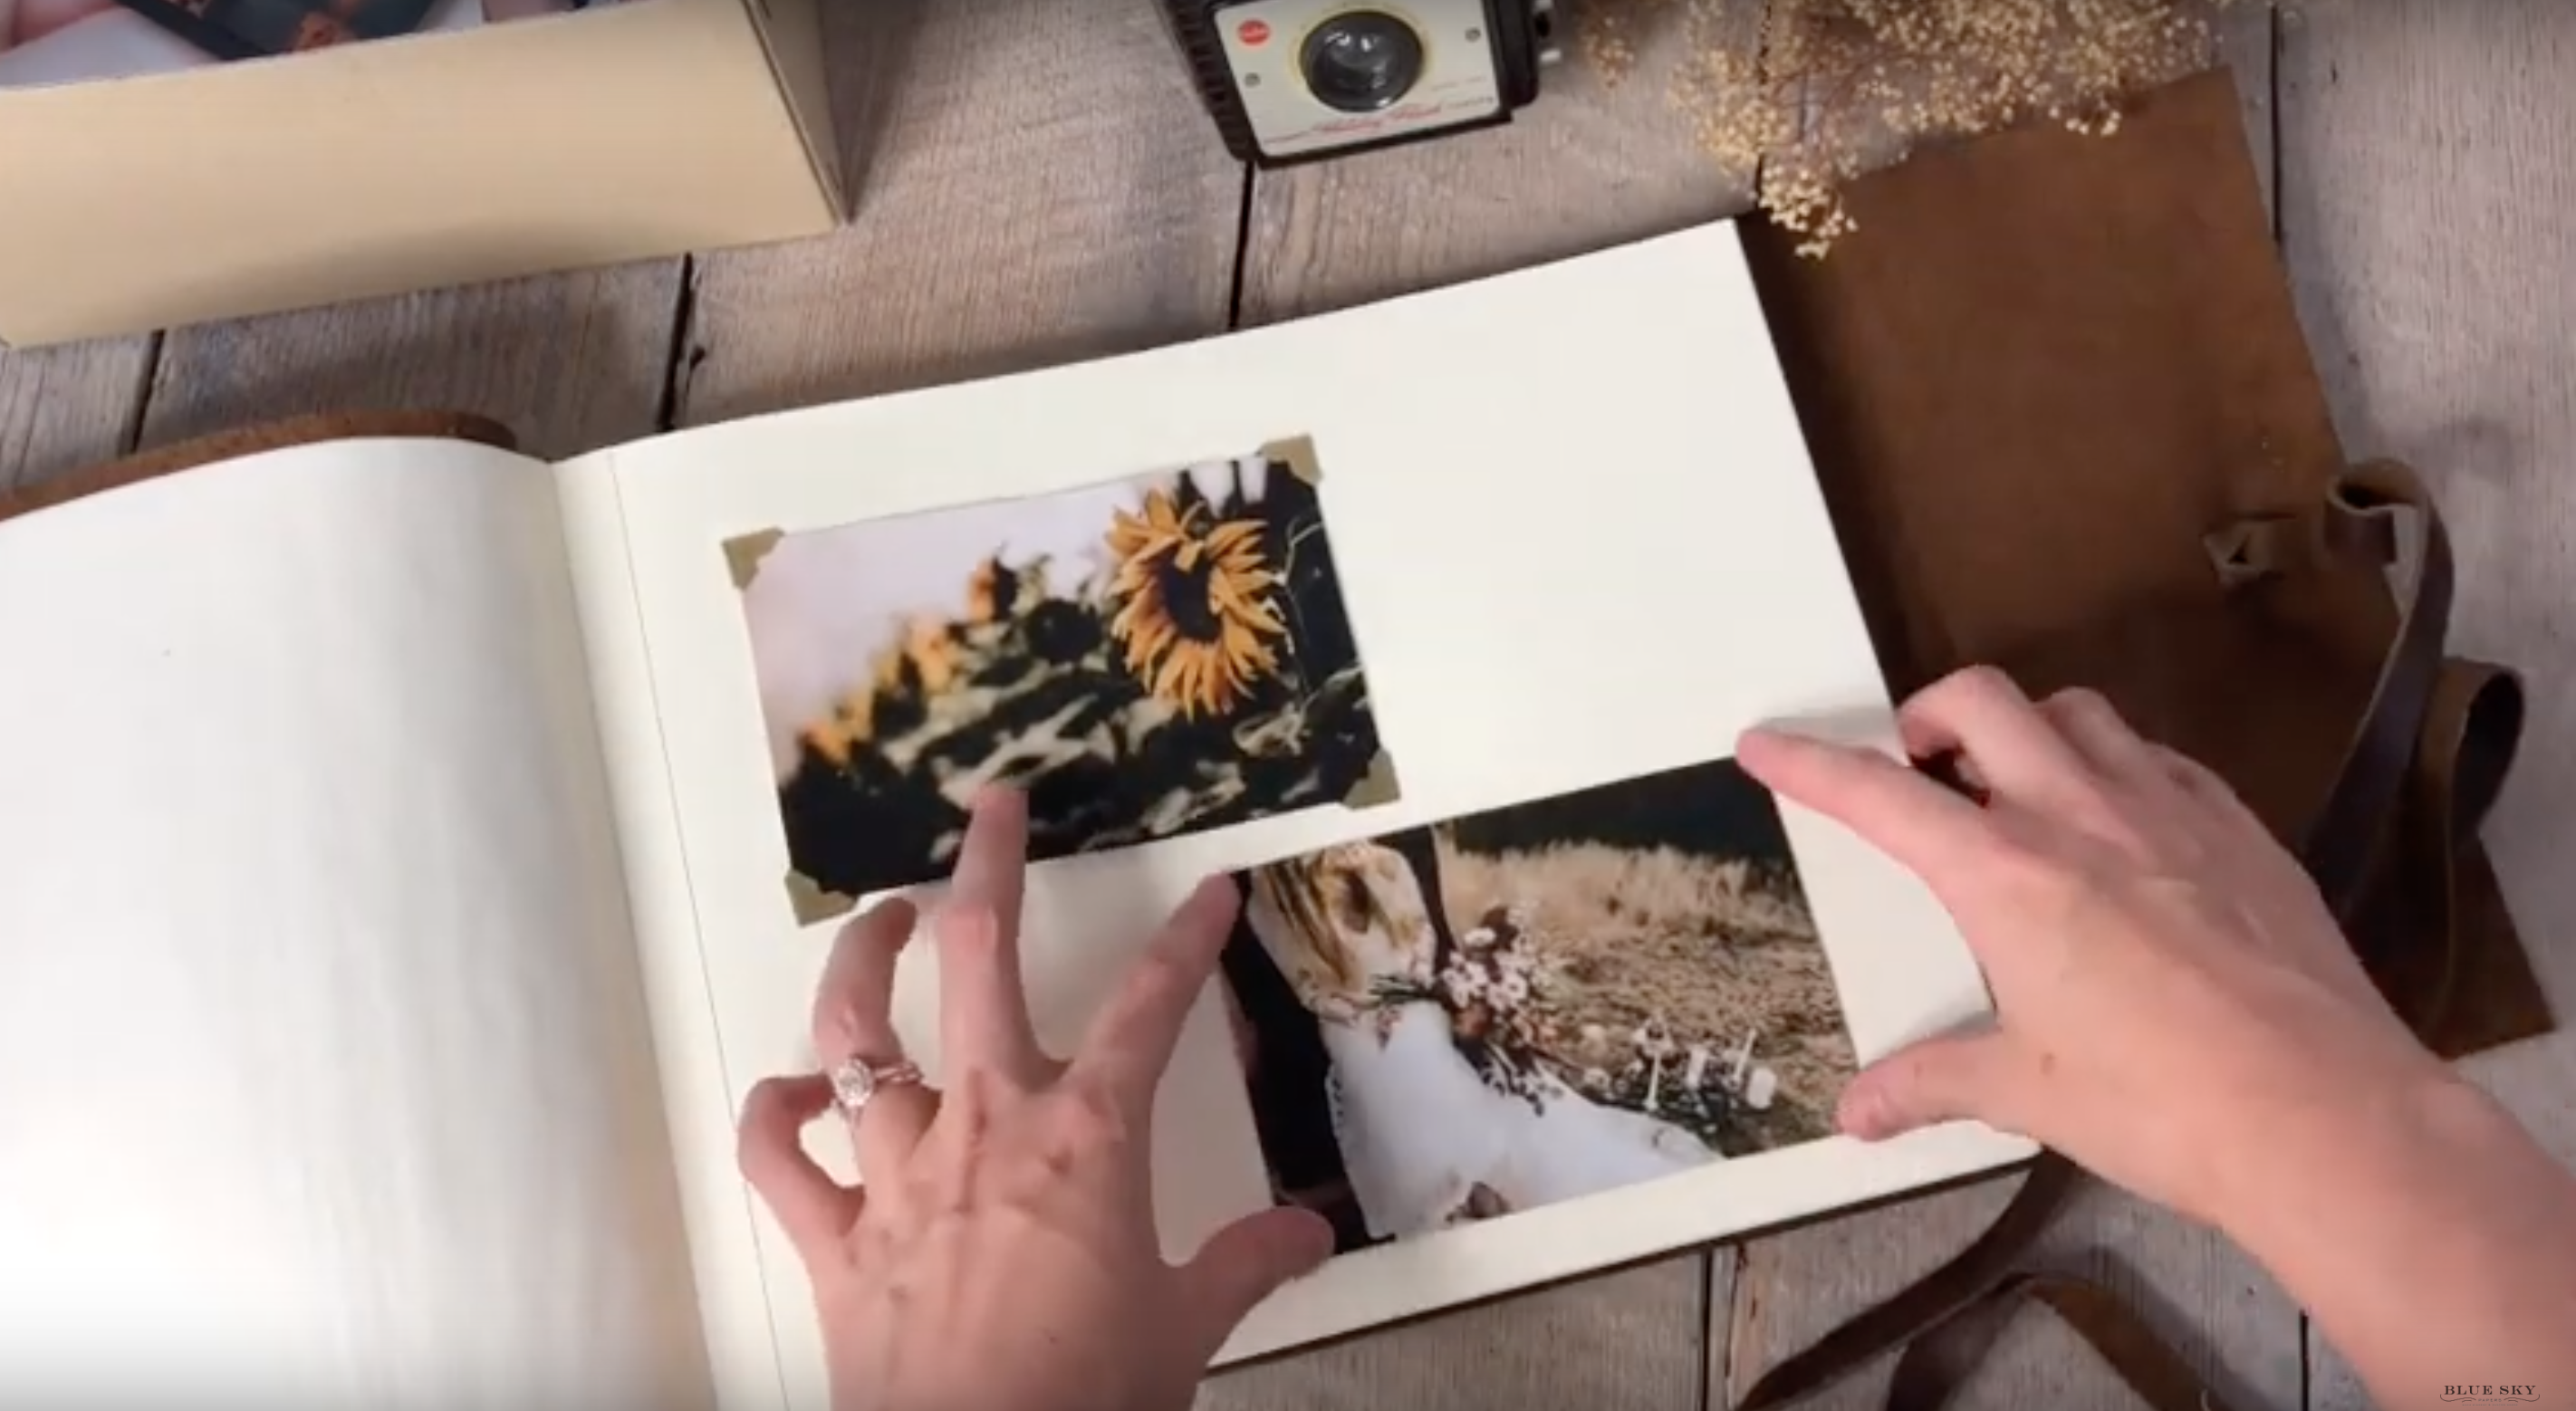
Photo Sticker Squares
The photo sticker squares are a super easy way to add photographs to your paper page albums. As simple as peel and stick. The photo sticker squares are sticky on both sides. You use the tab to peel the square off from its original sheet and with the tab still on the square, you apply it to the corner of the backside of the photo. Then use the tab to peel the paper part away and stick the photograph to your paper. 
Because the photo squares stick to the back of your picture, this method is invisible to your eye once the photograph is secured to the page.
Easy Mount Archival Photos Sleeves
Even though each of our classic archival albums come lined with glassine tissue interweaving between thick ivory cardstock pages, these easy mount photo sleeves will ensure an extra layer of protection for your photographs.
The photo sleeve is opened on either side, so I find that horizontal photos work best with this method of adding photos to an album. If you want to use vertical photos, secure the bottom with a clear tape seam. The other caveat to the photo sleeves is that they only will fit 4x6 photographs.
Keeping those things in mind, the easy photo mount sleeves are easy to use. Slip your photo in, peel the two paper strips off the back and stick to the photo album page. 1-2-3 and done!
Tape Roller and Glue Dots Runner
The tape roller and glue dot methods are essentially using double sided tape, therefor, very easy to use. However, each of these are designed specifically for adding photos to an album. So you can rest assured the sticky residue won't harm your precious photos in anyway. That is something you always need to consider when working with photographs. Any-ole' tape or glue won't do, as it can ruin the photo over time, causing discoloration or fading.
Below, is a little video showing you exactly how to use each of these methods. We hope this helps you in getting your album put together! If you have any other questions for us, please let us know in the comments. We love to help you out and create content that we know serves our customers!
Thank you, always for the support!