Posts Tagged ‘photo corners’

How to Pre-set Photo Corners, Photo Mounts, and Photo Sleeves for Your Photo Guest Book

Friday, September 6th, 2013

Thinking about having a photo guest book at your wedding?

Want to make it easy for your guests to put their photos on the pages without worry?
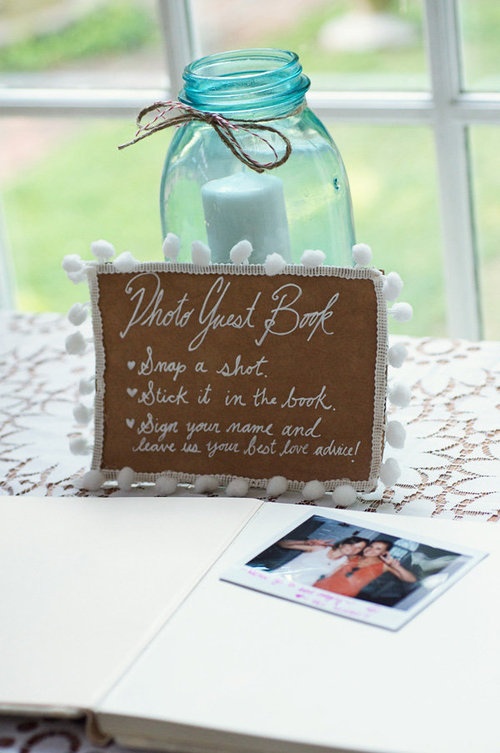
Photo Guest Book

Try pre-setting photo cornersphoto mounts, or photo sleeves in the book before-hand with instructions telling the guests how to insert their photos!


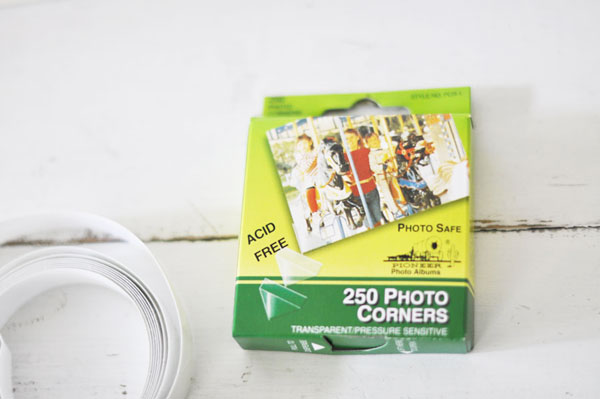
If you choose to go with the Photo Corners option:  

Place 2-4 corners for each photo on the pages where you would like your guests photos to be placed.

You can make small signs that are the same size as the photos that will be used and put them in the book where the guests will place their photos.

This will make it easier for you to accurately place the photo corners as well.

pre-set photo corners 1

Once it’s time for your guests to add their photos they can just place their photo in the book where you have designated!

Making for an easy and quick photo guest book!

pre-set photo corners 2

Photo Corners


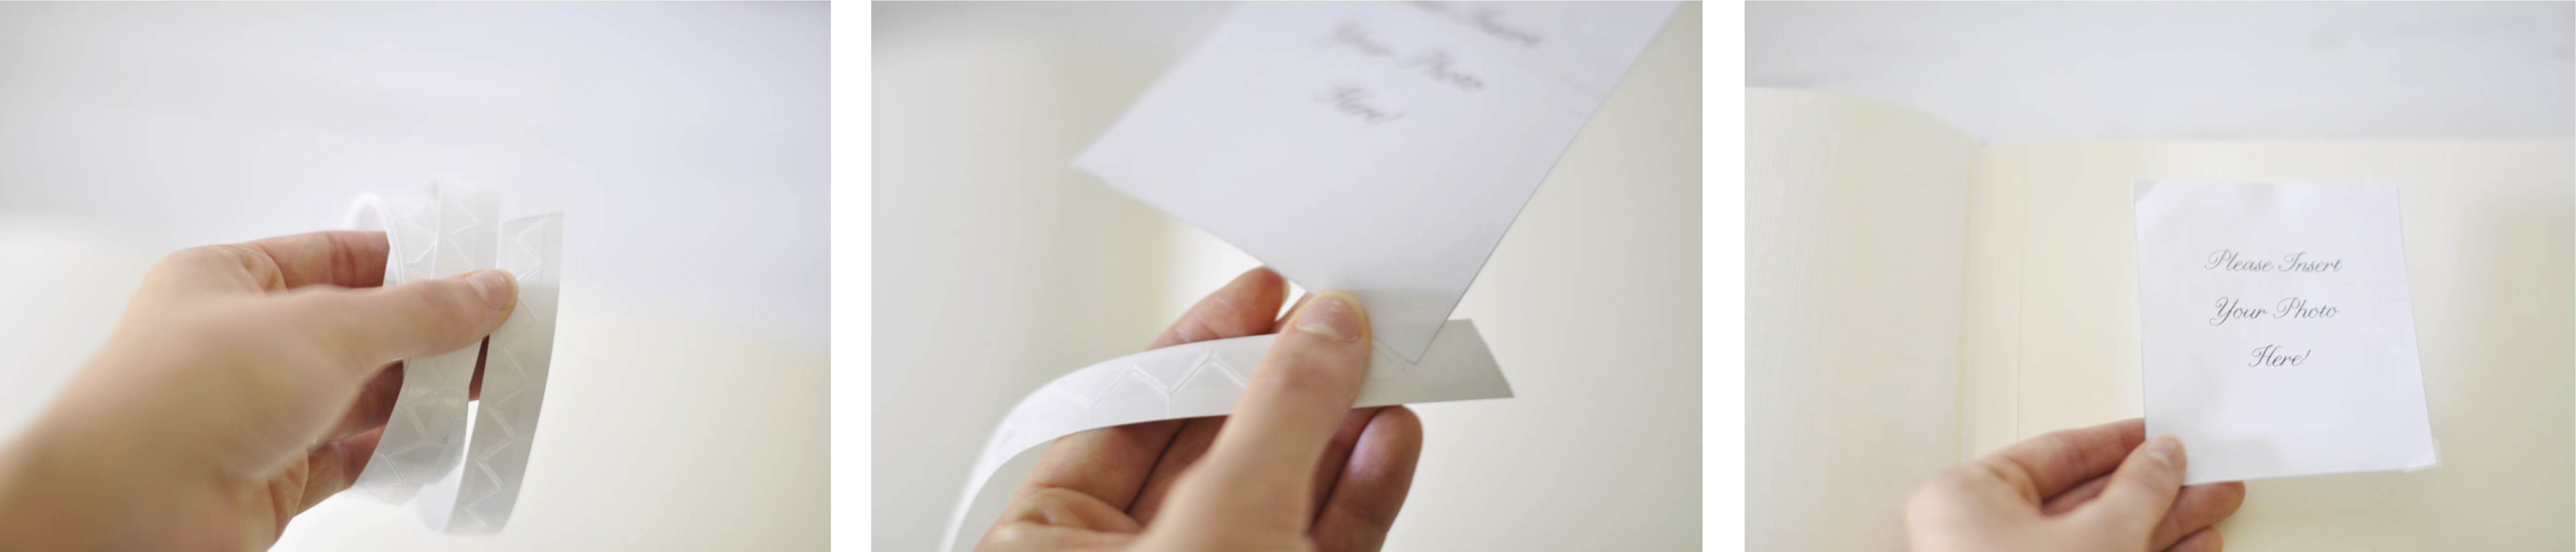
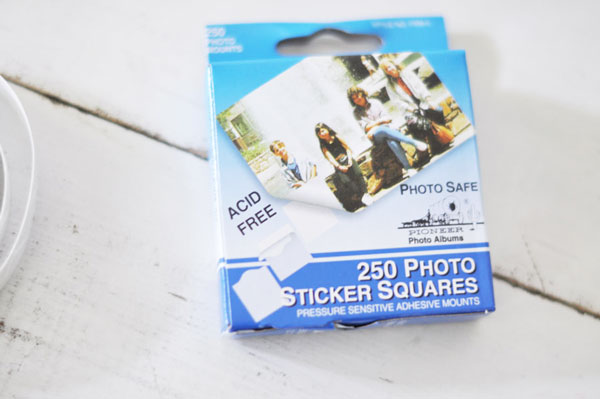
If you choose to go with the Photo Mounts option:

Place 2-4 corners for each photo on the pages where you would like your guests photos to be placed.

When placing the photo mounts in the photo book, make sure you do not remove the paper on the side that will face up

(your guests will peel this off when it’s time to add their photos).

Place the sticky side down on the page.

pre-set photo mounts 1

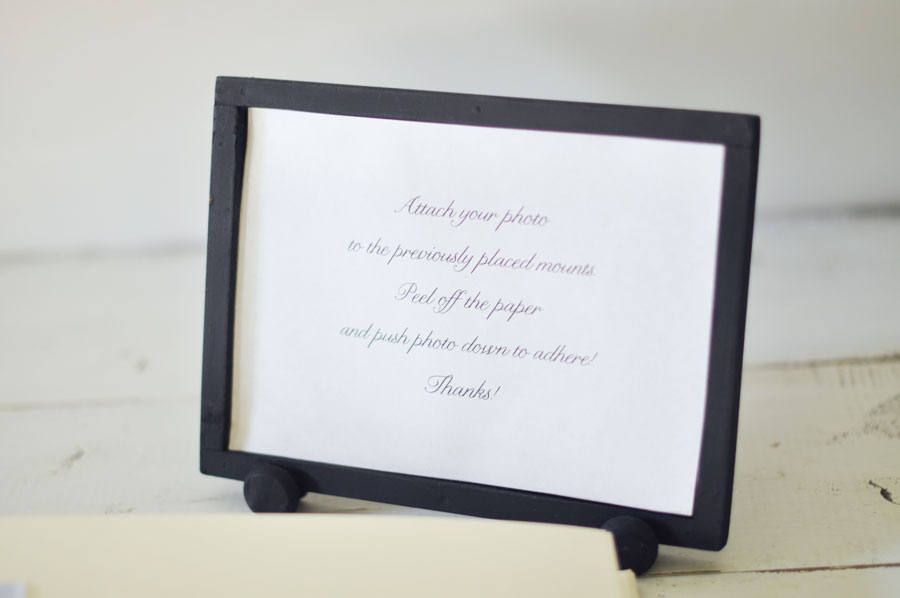
An instruction sign is always a good idea so your guests know exactly what to do!

preset photo mounts sign

Once it is time for your guests to add their photos they can peel off the paper and add their photos to the page easily, quickly, and without confusion!

pre-set photo mounts 2

Photo Mounts


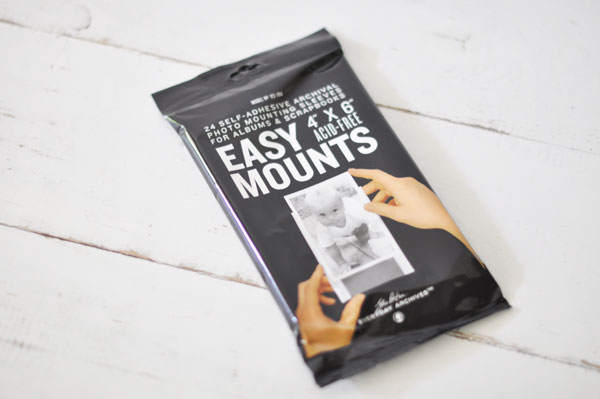
If you choose to go with the Photo Sleeves option:  

Carefully peel off the paper covering the adhesive strips on the back and place the sleeves onto the pages where you would like your guests photos to be placed.


pre-set photo sleeves 1

You can make small signs to fit in the photo sleeves and put them in the book where the guests will place their photos.

Once it’s time for your guests to add their photos they can just place their photo into the photo sleeve without any trouble or fuss!

pre-set photo sleeves 2

Photo Sleeves

For more ideas for your photo guest book click here.

To find out how many photos you can fit on the page of your photo guest book click here.

How to Add Photos to Paper Page Albums

Thursday, October 27th, 2011

paper-page-header

Paper page albums are perfect because they are flexible, archival and easy.

Flexible in that it allows you to show your album just the way you want it – orienting the photos, placing other keepsakes, and even drawing/decorating the pages.

Archival in that acid-free/lignin-free (archival quality) paper page albums take better care of your photos/keepsakes by keeping degenerative materials from prematurely aging your photos.

Easy in that adding photos to your album can be quick and easy with the proper tools, shown below.

……………………………………..

So, how do I get photos in paper page albums?


All these photo album accessories and adhesives make it easy to add photos to a paper page album – and they are archival quality to protect and preserve your photos for generations.

.

Photo Corners

Photo-Corners Photo-Corners2

Slide the corners of the photos into the corners, removing the photo corner from the liner.  Eyeball/mark the page where you want the photo to go, place the photo on the paper page and then press the photo corners in place.  Make sure the photo corners are snugly prior to pressing them down so the photo doesn’t have much wiggle room.

.

Photo Sleeves

Photo-Sleeves-1 Photo-Sleeves-2 Photo-Sleeves-3 Photo-Sleeves

The easiest, best and most flexible of the photo accessories.  While being archival, photo sleeves completely cover/protect your photos from finger prints.  They allow flexiblity in placing your 4 x 6” photos either landscape or portrait orientation.  Simply slide the photo in the sleeve, remove the liner from the back of the sleeve and press on the page.

.

Photo Dot

dot runner


Little glue dots have never been so cute and fun!  With a miniscule amount of adhesive touching your photo, roll the mechanism about 1/2″ long on the back of your photo – one center and in each corner.  Then, press the photo into place.  Non-yellowing dots are archival and strong to last generations.

.

Photo Mounts

Photo-Squares Photo-Squares-1 Photo-Squares-3 Photo-Squares-4

Photo mounts are two-sided adhesive squares, allowing you to place the square on the back of the photo yet remove the liner later for placement.

Great option for photo guest books where you want to preselect where the photos will go.  To do this, determine where you want your photos to go and place the photo mounts on the pages, keeping the liner on the front.  Ask your guests to remove the liner and press the photo into place.

photo-guest-book-stepb photo-guest-book-stepa photo-guest-book-step Polaroid-Guest-Book

.

Roller Tape

Roller-Tape Roller-Tape-2 Roller-Tape-3

Super easy and fun, these roller tapes apply a micro-thin layer of archival adhesive to the back of your photographs.  Simply press and roll the applicator on the back of the photo, flip and press in place!

.

Tape / Glue

Almost all of us have this on hand!  While there are many scrapbook and archival quality options of double-sided tape and glue, it is so important to select tape and glue sticks that are archival quality.  Not all adhesives are archival quality!  So check before you use your household supplies.  And, no wet glue – it’ll warp your photos!

………………………………………

We hope this guide helps you make great family keepsakes with lots of photos and memories kept!